A Rocket League Rings Course Inside My PC
I wanted a little Rocket League car flying through a course of rings inside my PC. Matching rings, a smooth climbing path, and a mount mostly hidden behind the car. The RAM, GPU, cables, and AIO display all had to share that space.
I worked with Codex to build the Blender models, prepare the prints in Cura, and send them through OctoPrint. My part was taking photos, fitting the pieces, and pointing out when the model did not match reality. That happened a lot.
Start with the real space
The first rough model was not accurate enough. I used Polycam on my phone to scan the PC, then used that scan, photos, and a printed ring of known size as references for a cleaner Blender model. It gave us a better starting point, but it still needed physical checks.
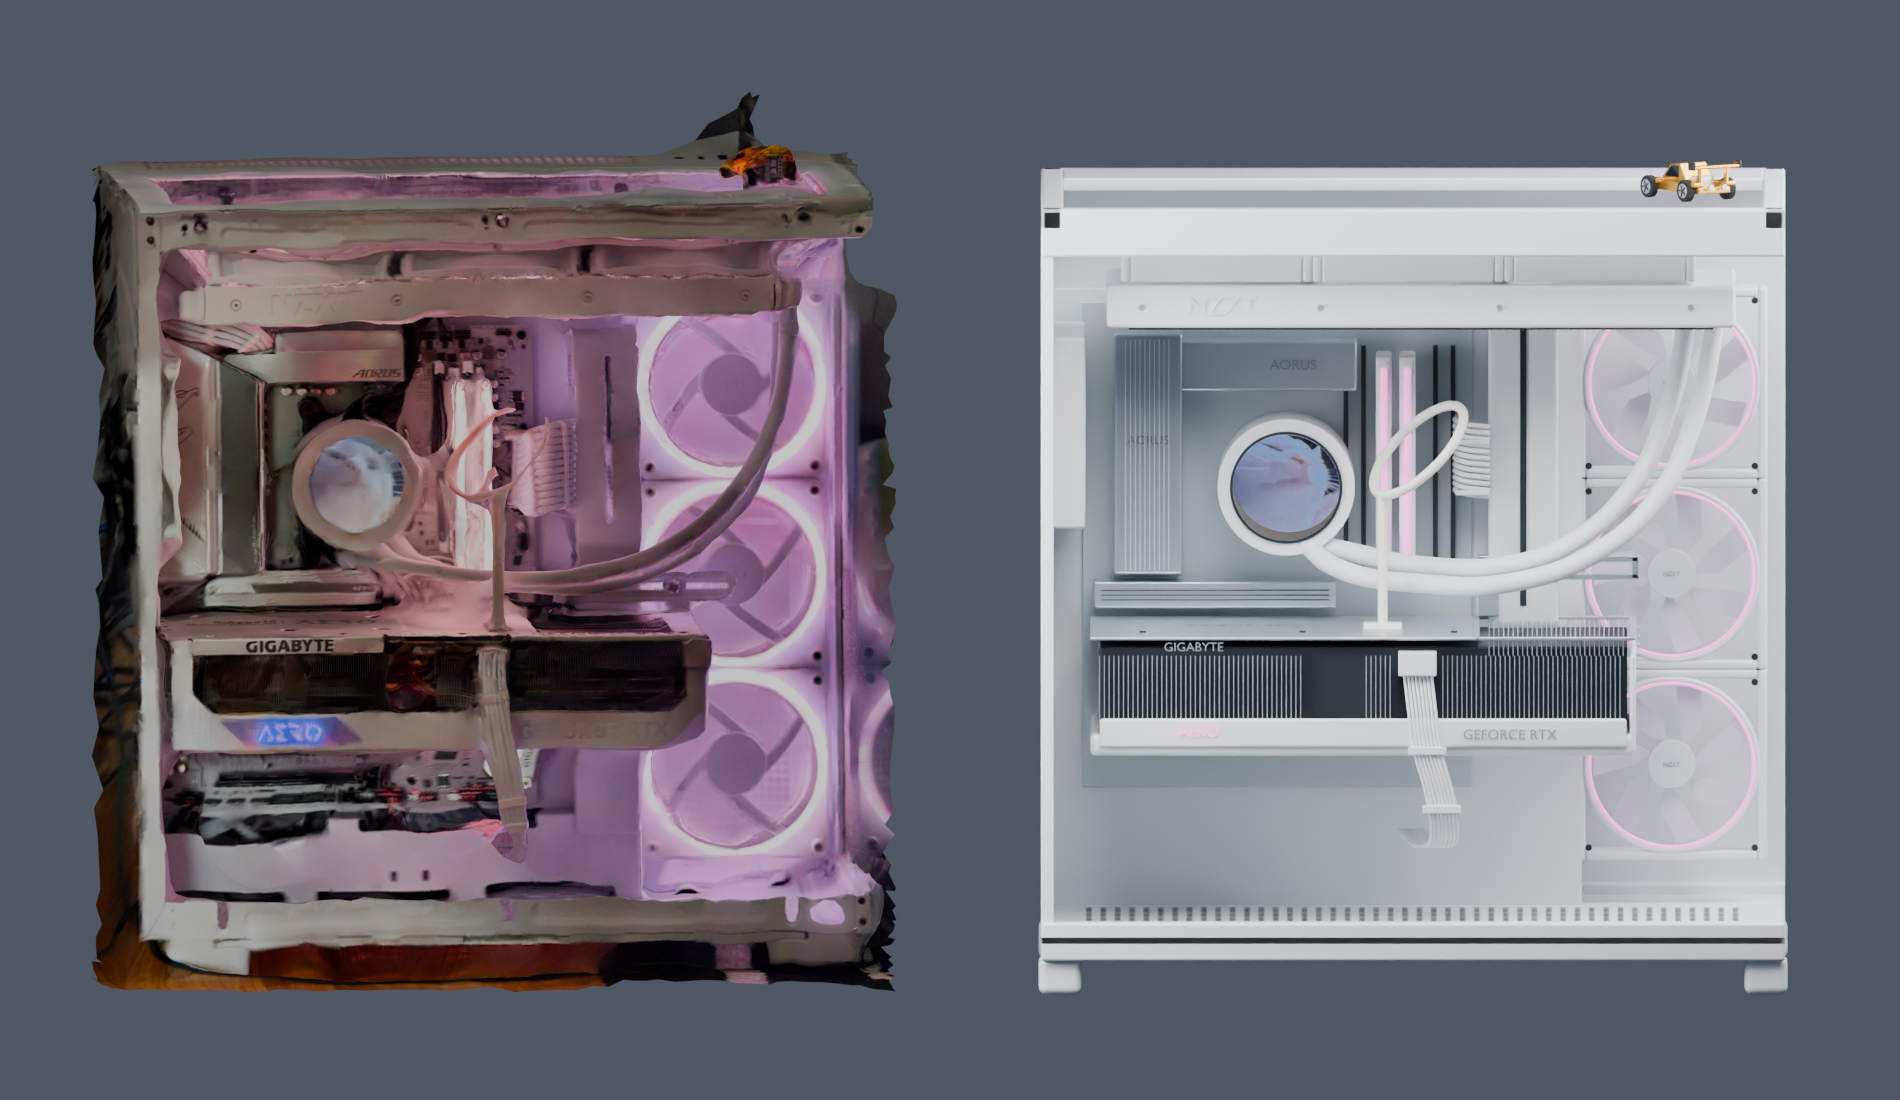
The early scan and Blender reconstruction, before the full ring course was placed.
Make the flight path work
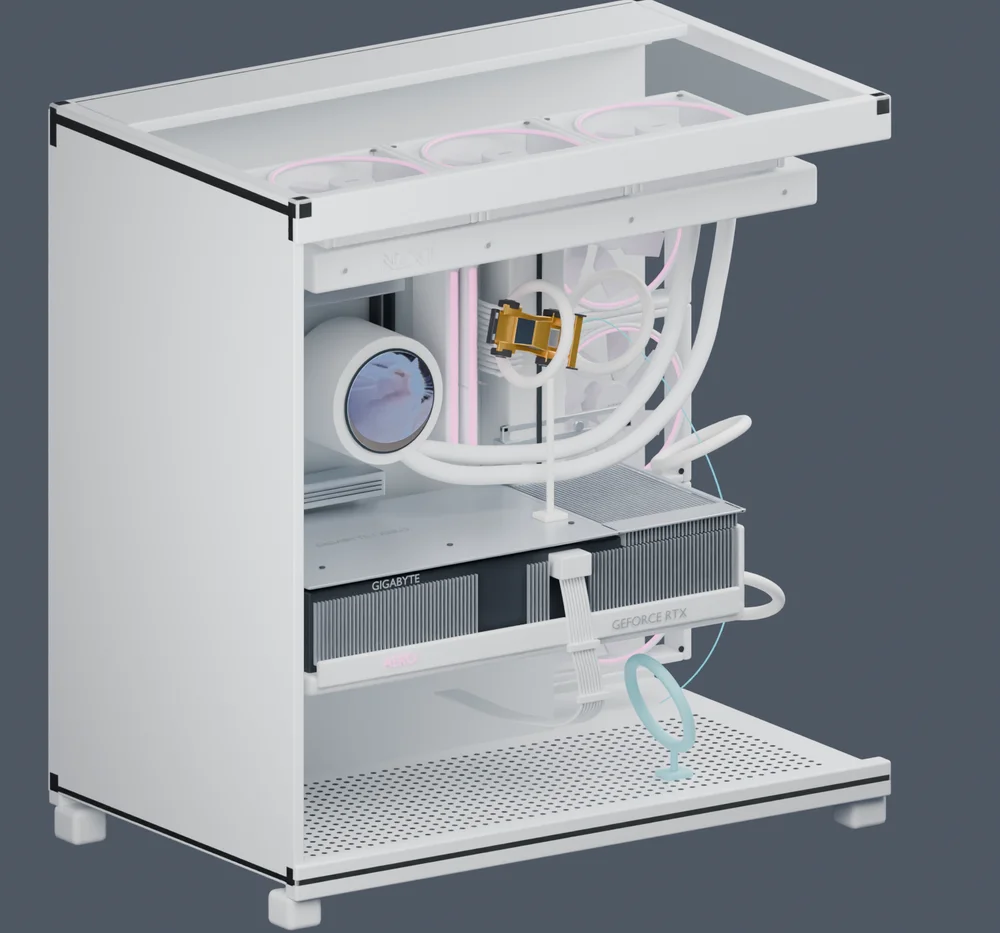
We drew a smooth curve through the ring centers, adjusted their spacing, and aligned the car with both the path and its ring. Checking the same design from the front and both sides caught awkward turns that a single flattering render hid.
Test fitting also exposed a mount that would hit the glass. Moving it toward the cable shield meant shifting the neighboring rings and adjusting the car ring again, while keeping the AIO screen visible.
Print, fit, repeat
Early prints had loose supports, rough surfaces, and joints that looked too obvious. The later version combined each ring and its mount into one piece, kept adhesive mounting pads, and used my Cura Mini profile with stronger support contact and removable rafts.
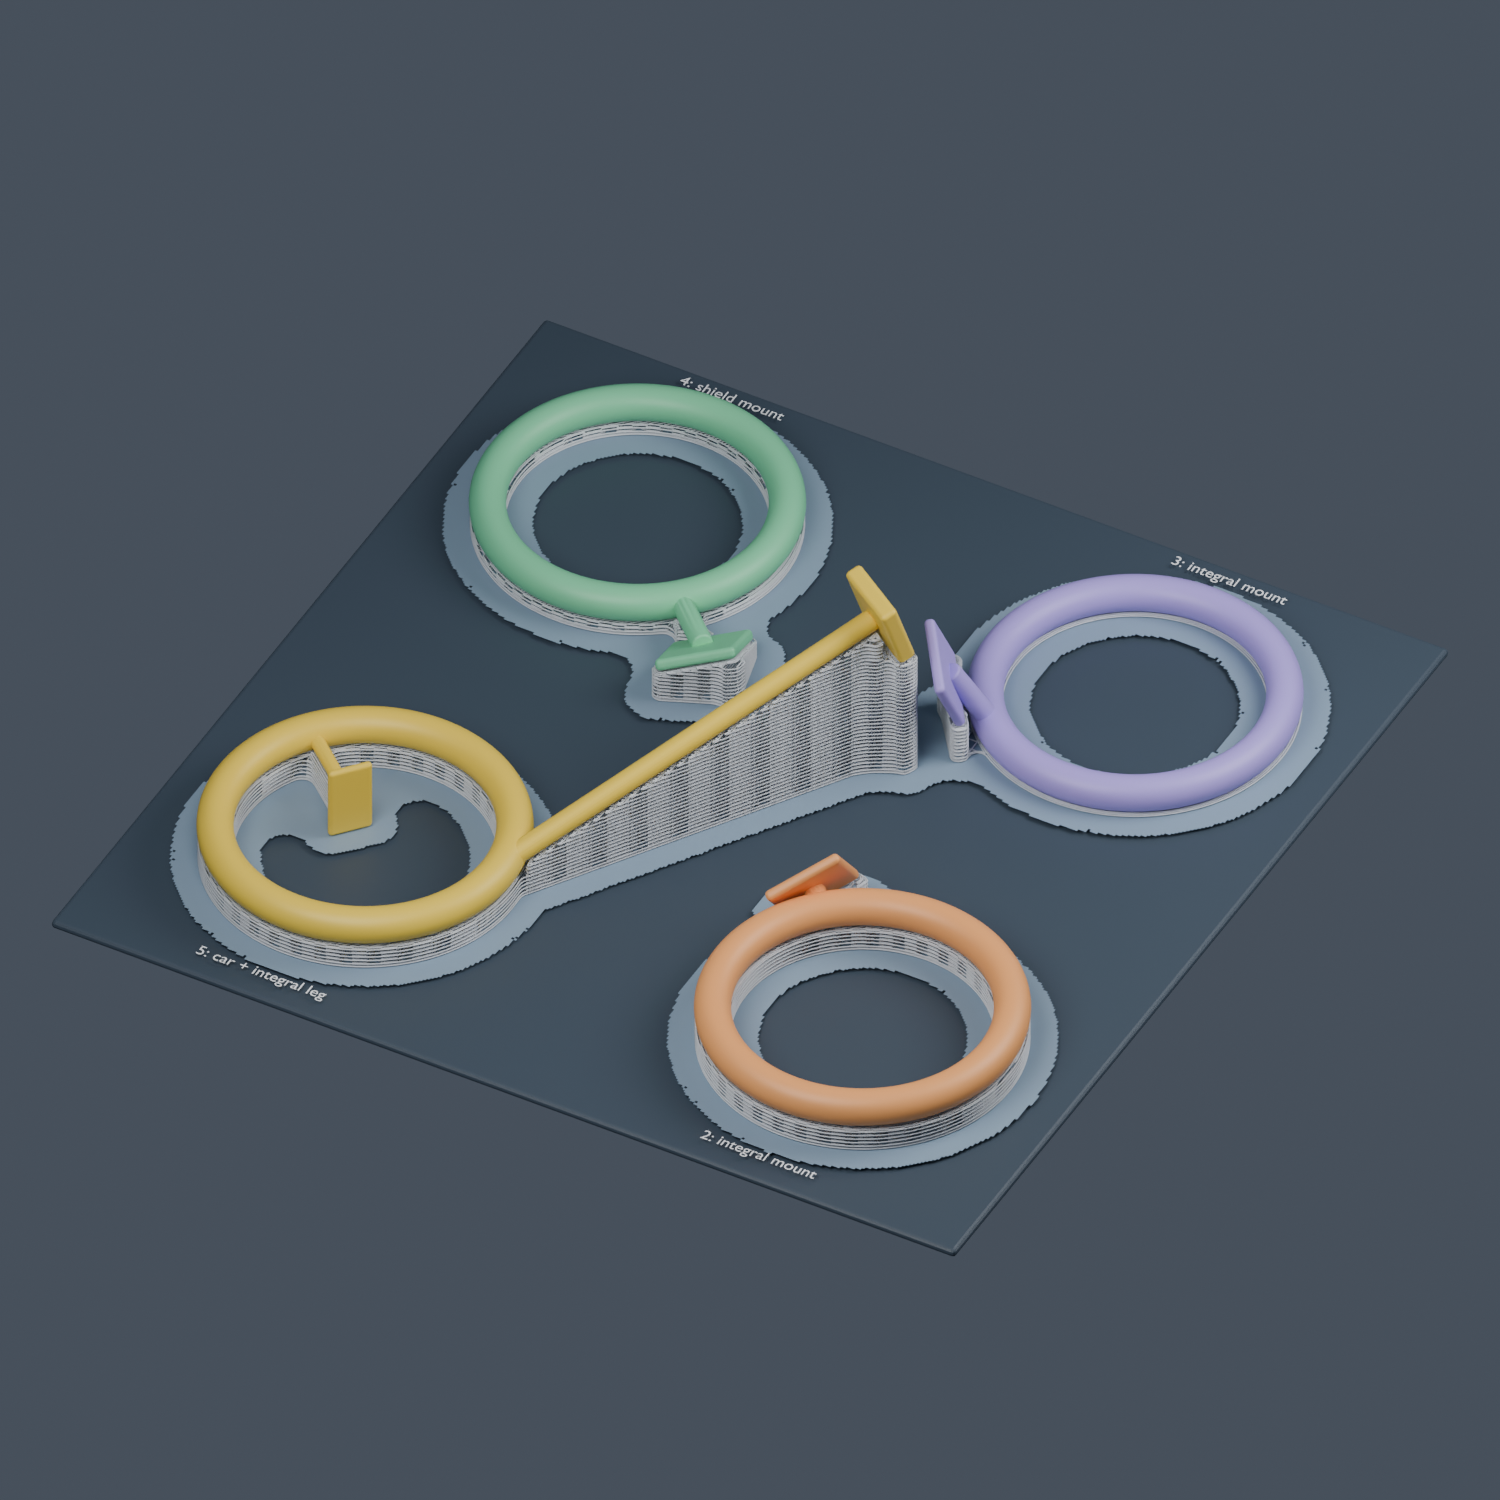
Colors identify the parts in the preview; they are not the filament colors.
We kept the finished floor ring and printed the four revised pieces together. The useful workflow ended up being simple: scan, model, look from every side, print, and fit it in the actual case. The physical fit kept correcting the render.
In the case
Here is the fitted display: white rings winding around the GPU, with the gold car up by the RAM. The prints still have some roughness, but the arrangement is where I wanted it.
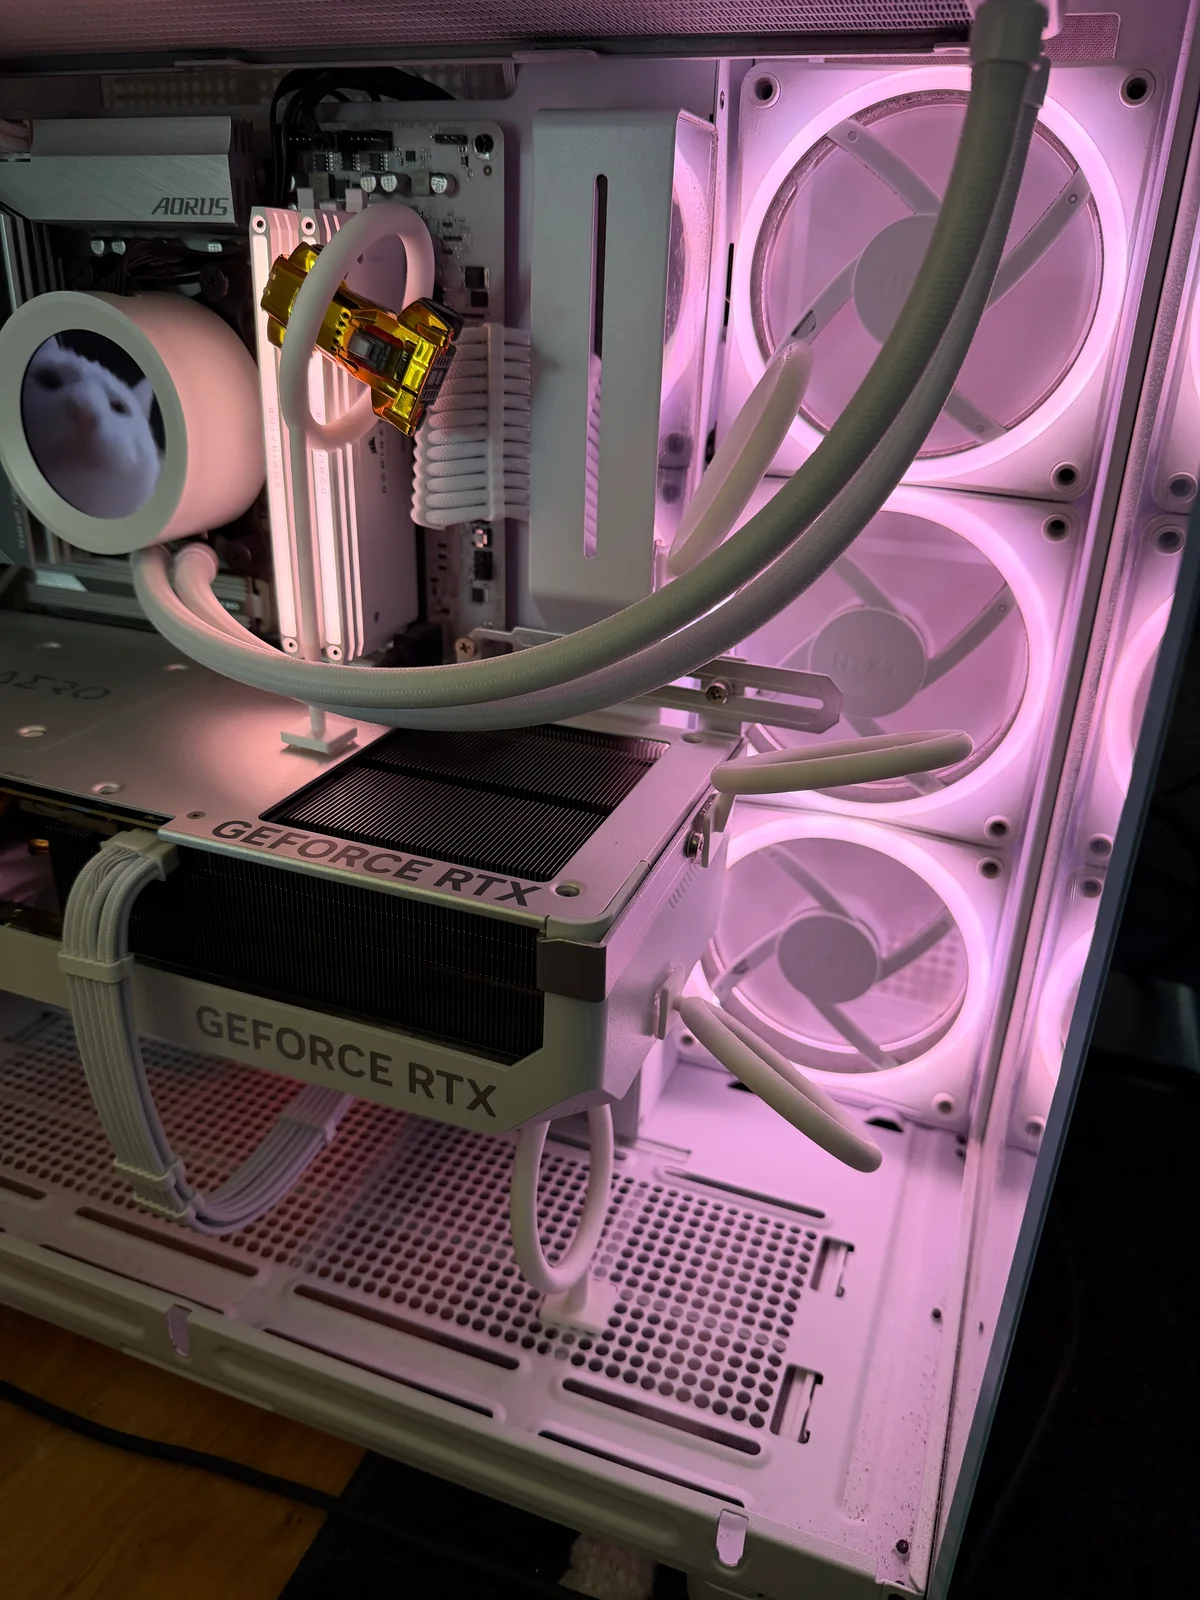
1. Finished ring course and car inside the PC
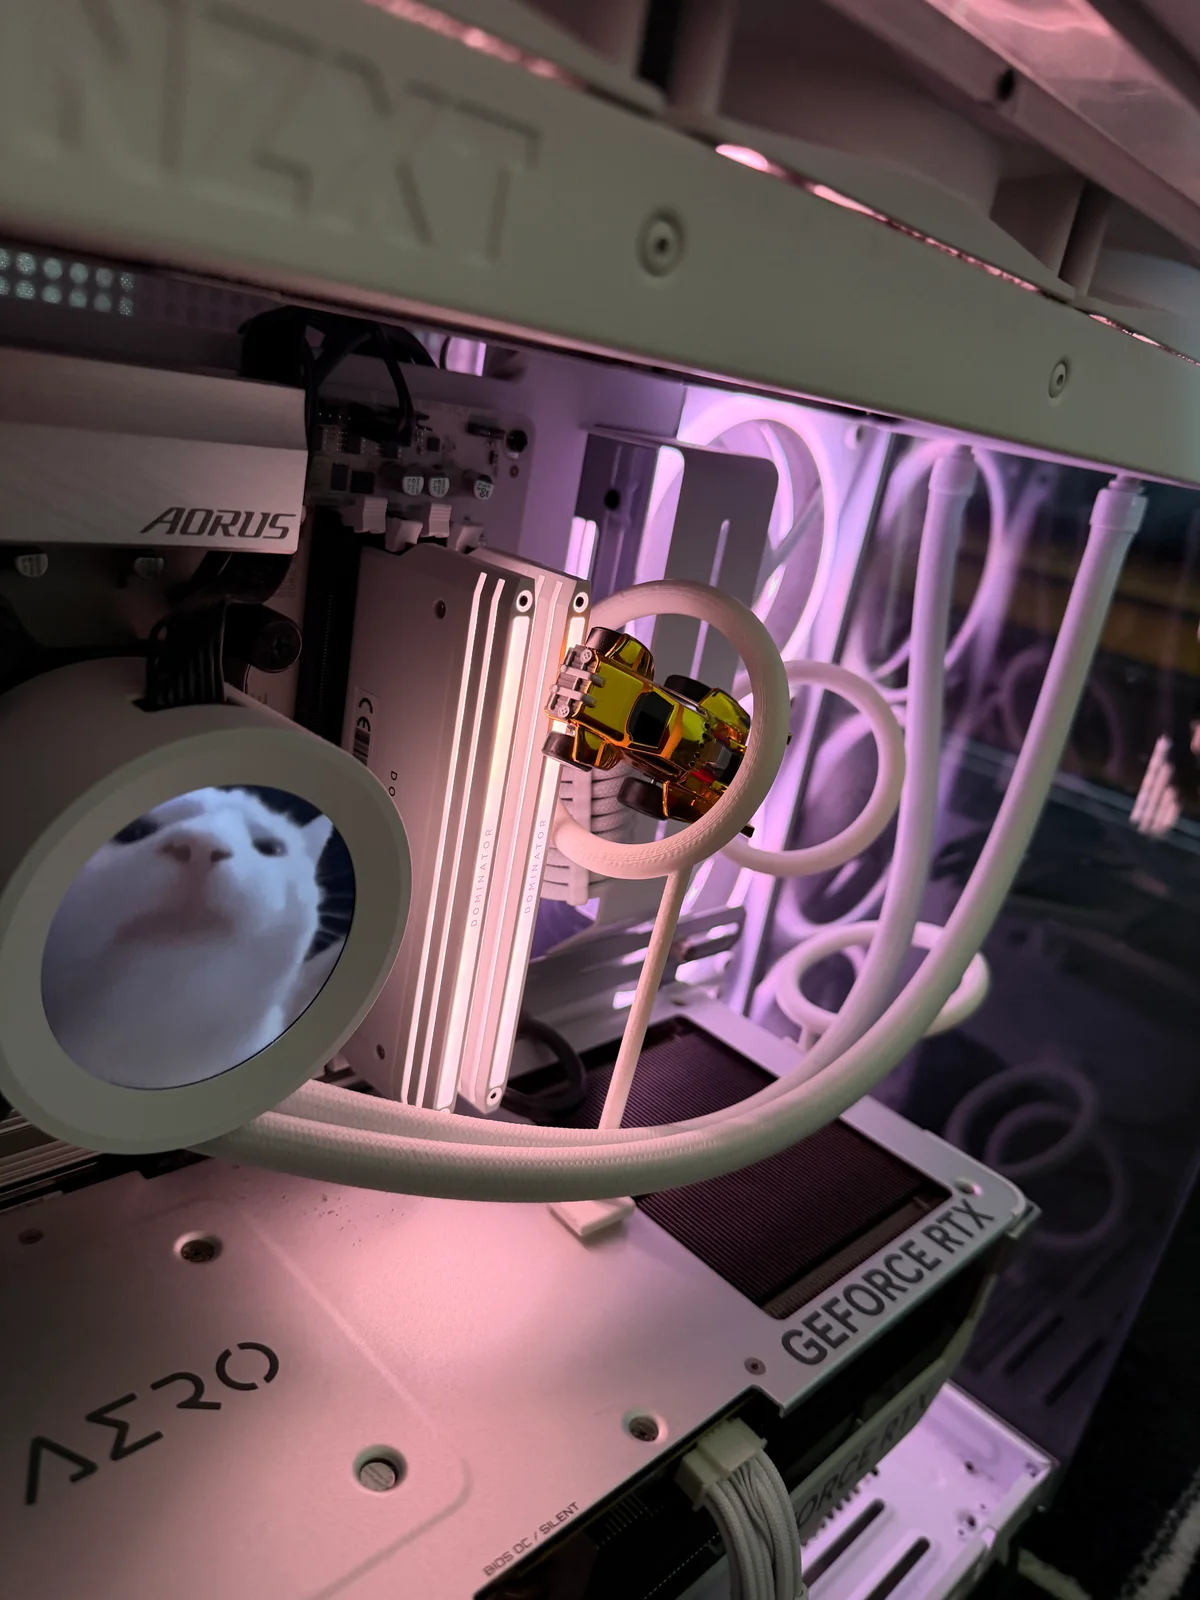
2. Gold car mounted inside the upper ring beside the RAM
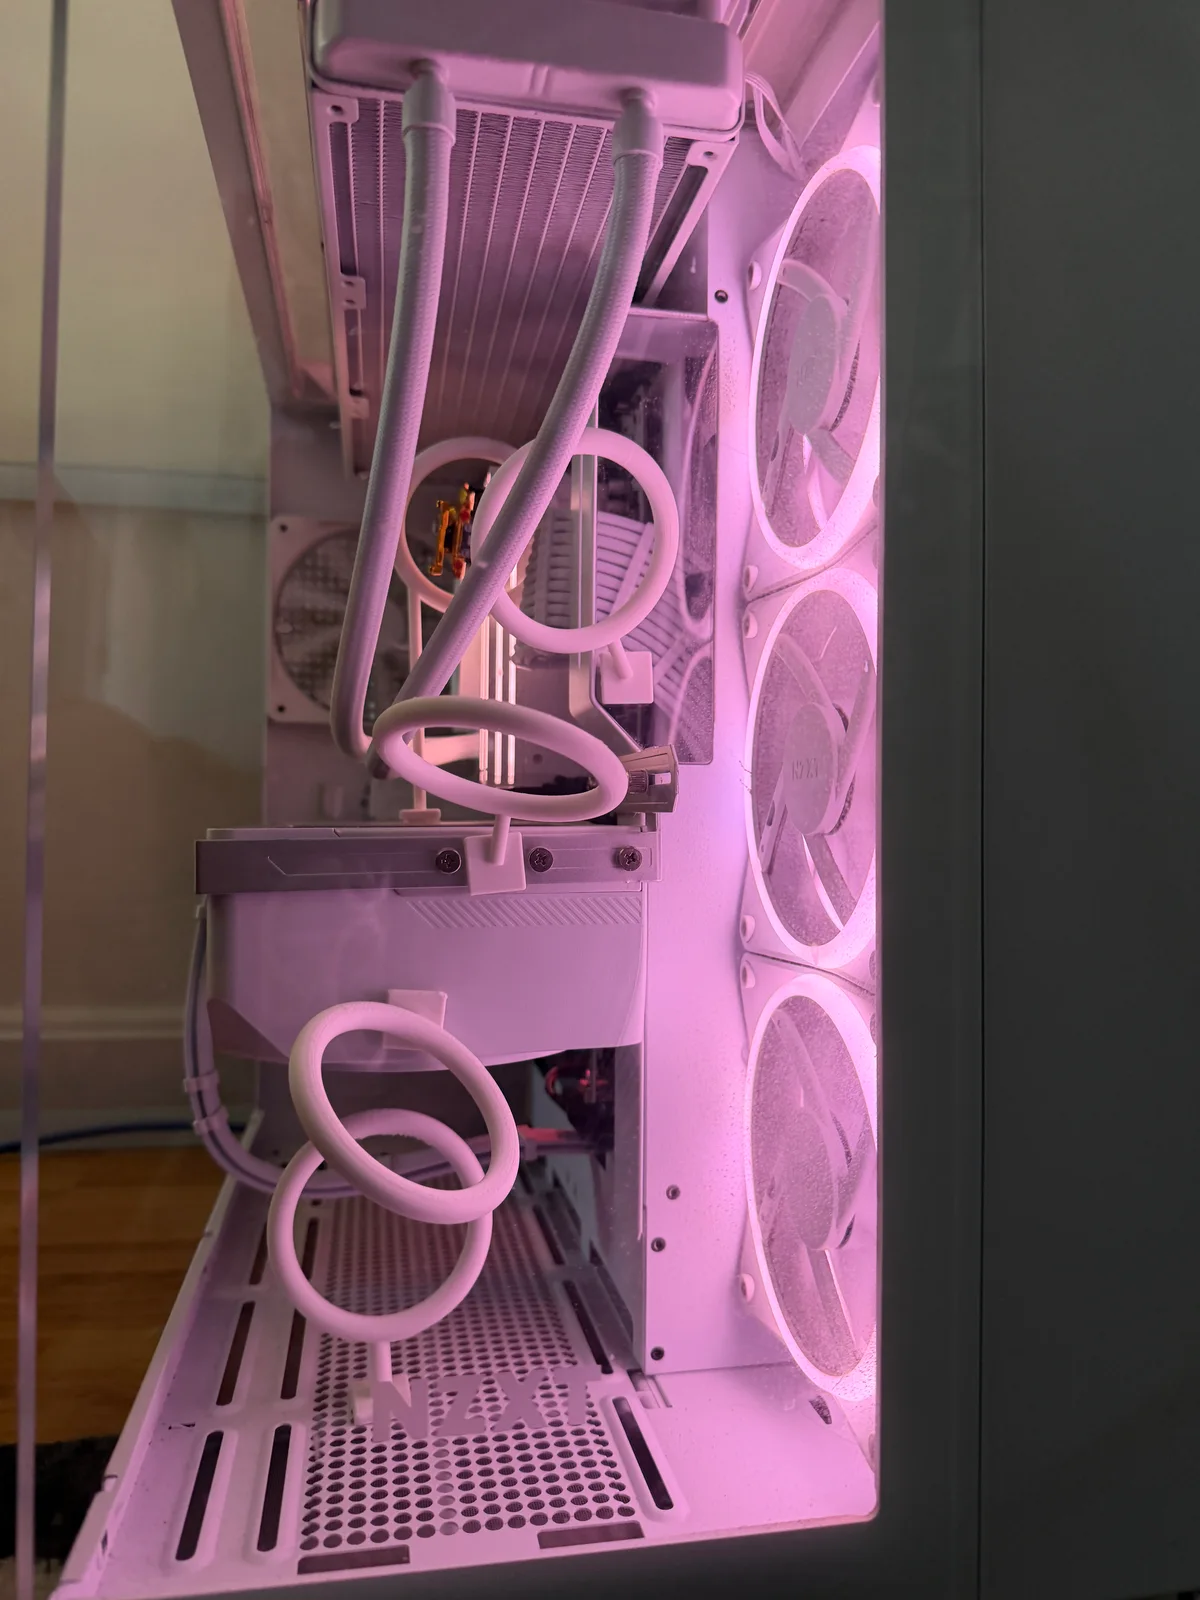
3. The ring spacing viewed from the right side
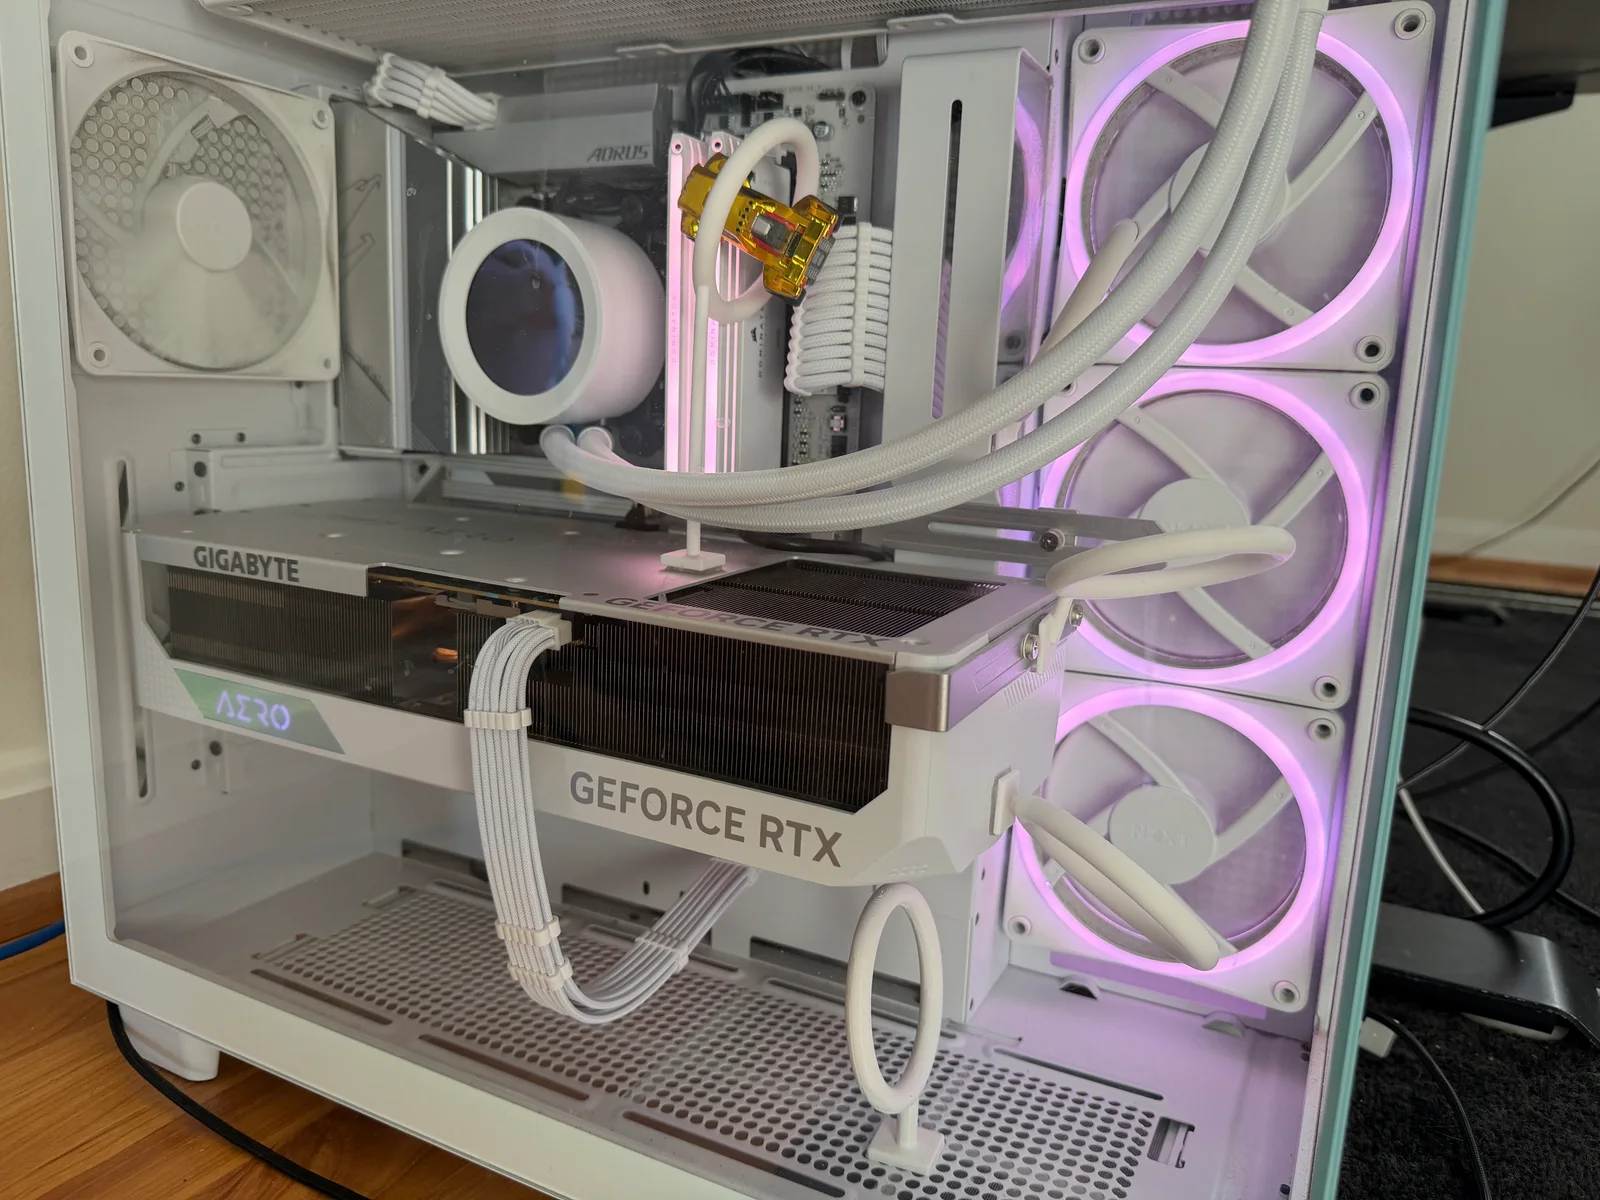
4. The finished display with the glass panel installed, viewed at an angle
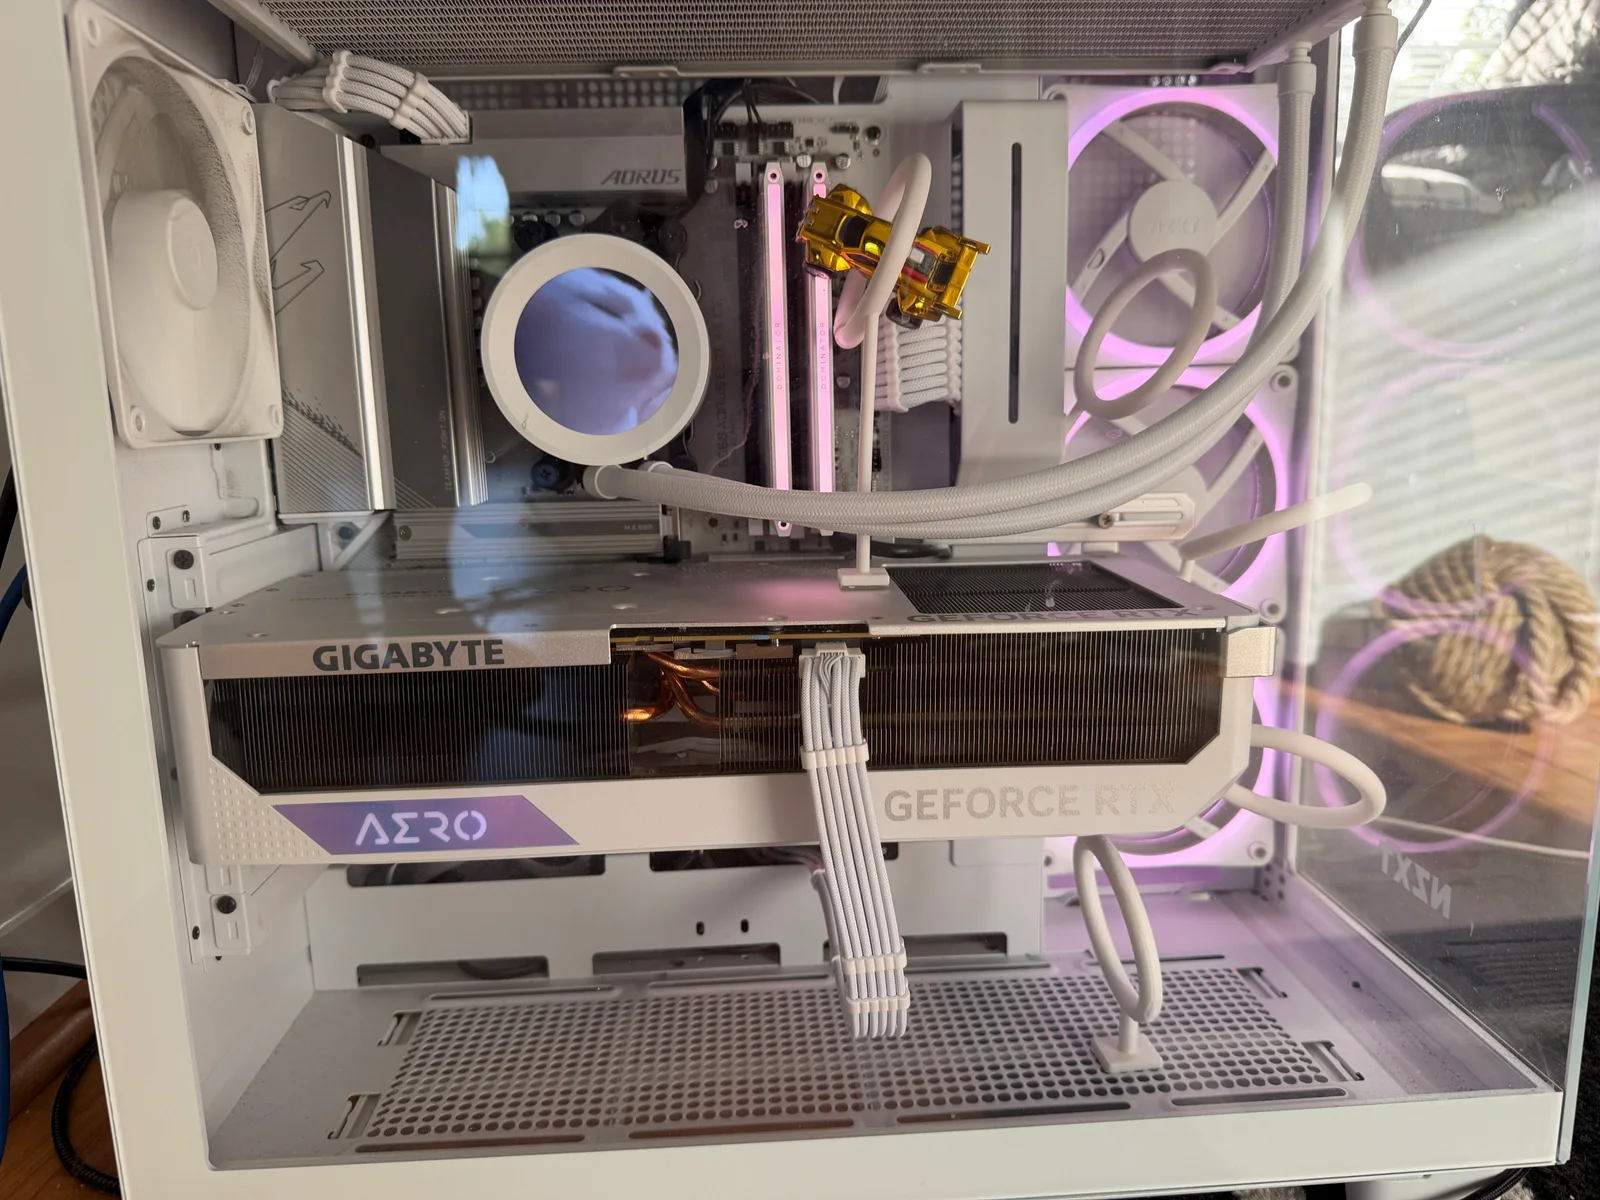
5. Front view through the installed glass panel
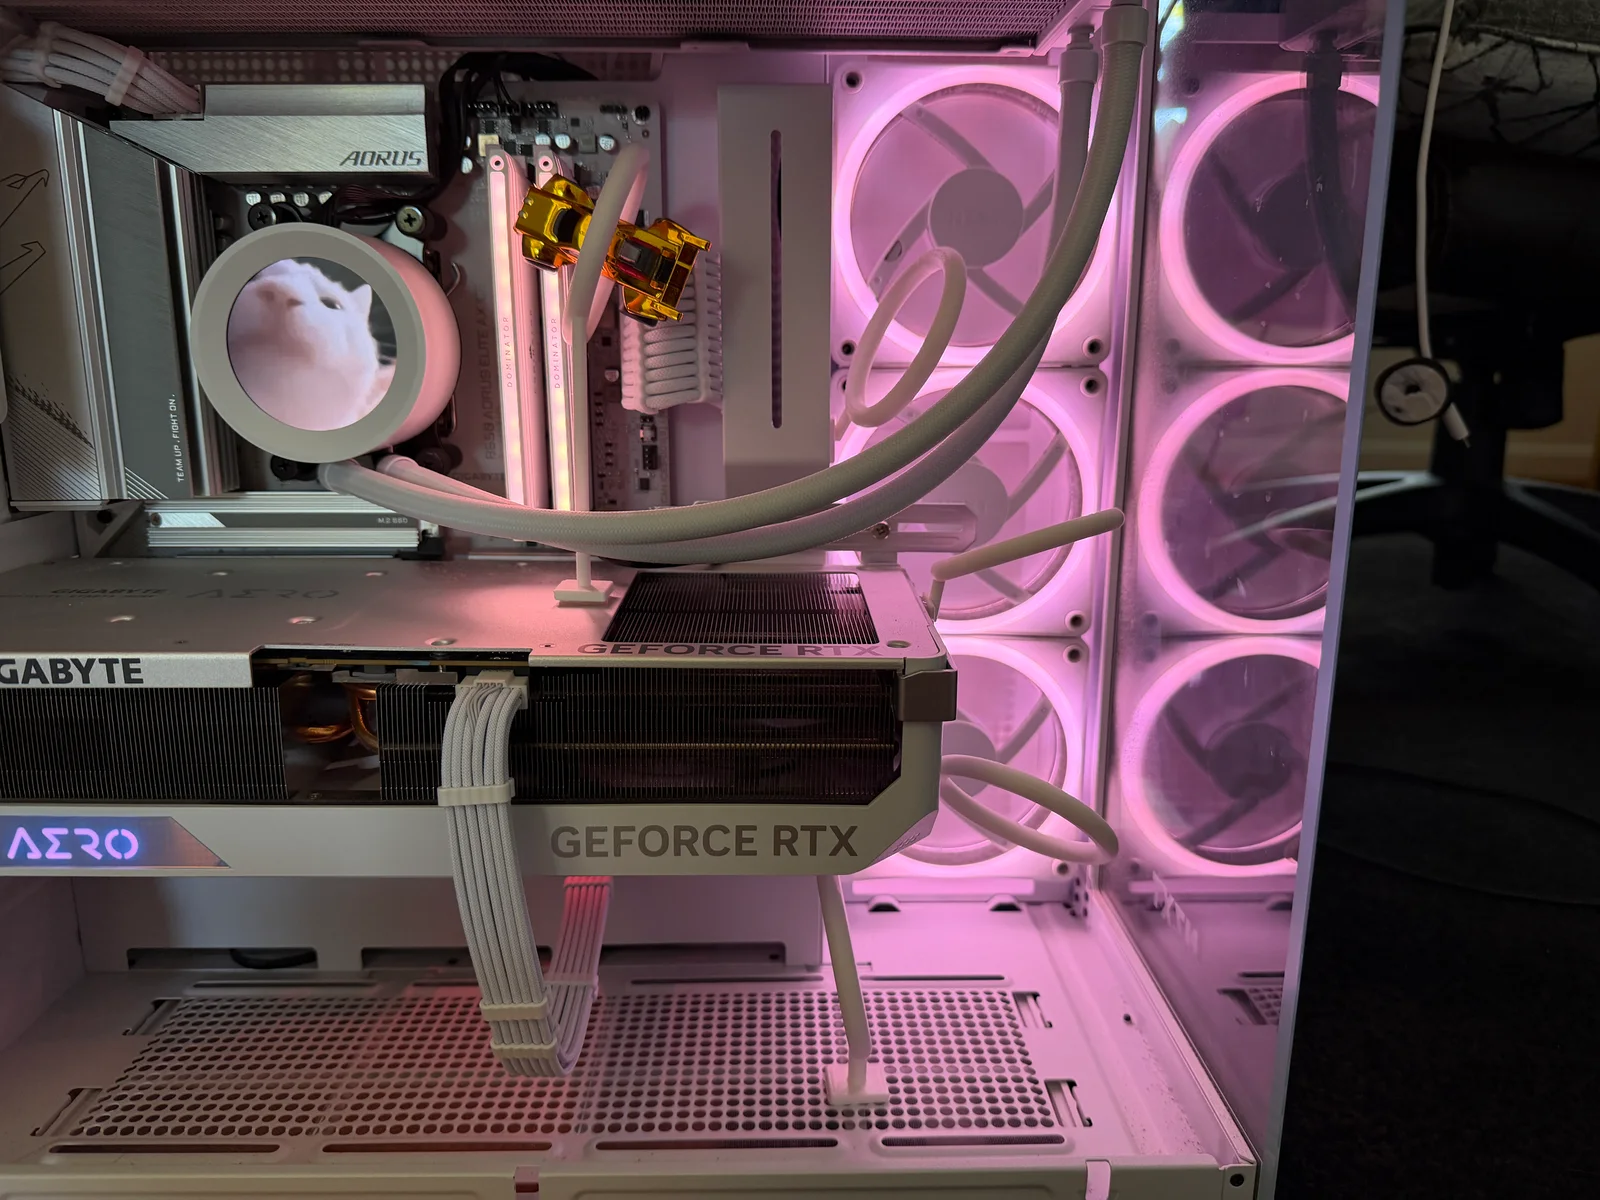
6. Closer front view of the rings, GPU, and car